I’ve recently started a new YouTube channel to talk about the things I normally write about: psychology, science, and history, and how they intersect with helping us run better businesses. And it’s grown at a nice clip so far with over 340 subscribers. That’s tiny in the realm of YouTube where my favorite channels are in the 3–4 million subscribers, but it’s a good start for a recent production. Jason and I also started another channel called Work in Progress, which picked up about 1700 subscribers fairly quickly. (To answer a common question: Jason and I have been dormant on the Work in Progres Show. It’s awesome to do those, but our schedules are hard to sync up. Hopefully soon we can start those again).
But why even focus on YouTube. Here’s two things I’ve spotted recently:
Facebook VP Nicola Mendelsohn says about the future of Facebook in 5 years: “We’ll be all video.”
And
“My kids don’t have a YouTube channel — but they pretend they do” 5 year olds are now pretending they have their own YouTube channels.
Video increasingly becomes more important. So it doesn’t seem a bad bet to invest there. Here are a few helpful tips, tricks, and even gear I’ve uncovered along the way that weren’t obvious to me when we started these projects.
Add a subscription button
YouTube lets you add something called a “watermark”. Since a watermark is often used in photography so people won’t steal your work, you might not realize you can use it for a completely different purpose on YouTube: to encourage people to subscribe.

And even more non-intuitively it’s in your Channel settings called Branding:
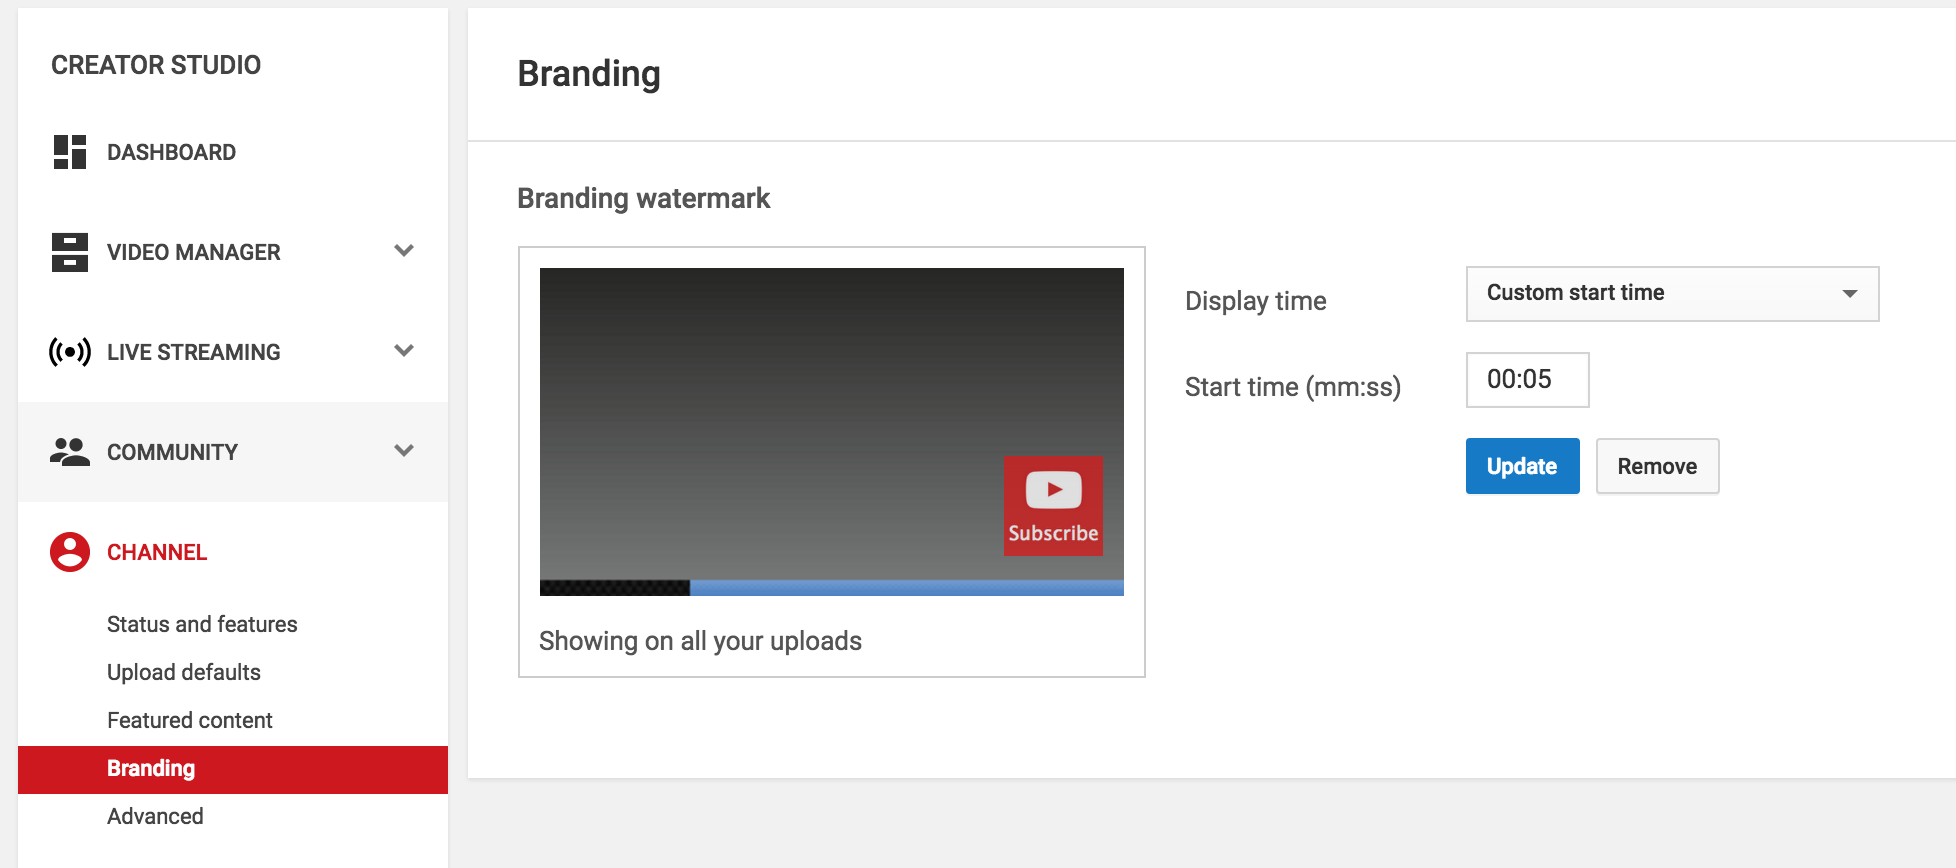
If you go to Branding you can upload an image, and even pick a time when it appears. I go with 10 seconds so it might get more noticed when a viewer gets comfortable with the video for a bit. Here’s my watermark if you want to use it yourself:

Does it work? To be honest, I haven’t given it a thorough A/B test. A/B testing strategies on YouTube are almost impossible (wish they would give creators some abilities there). It seems like subscriptions got a bump when I added these to Work in Progress, but might be worth testing if you can.
Do an intro video
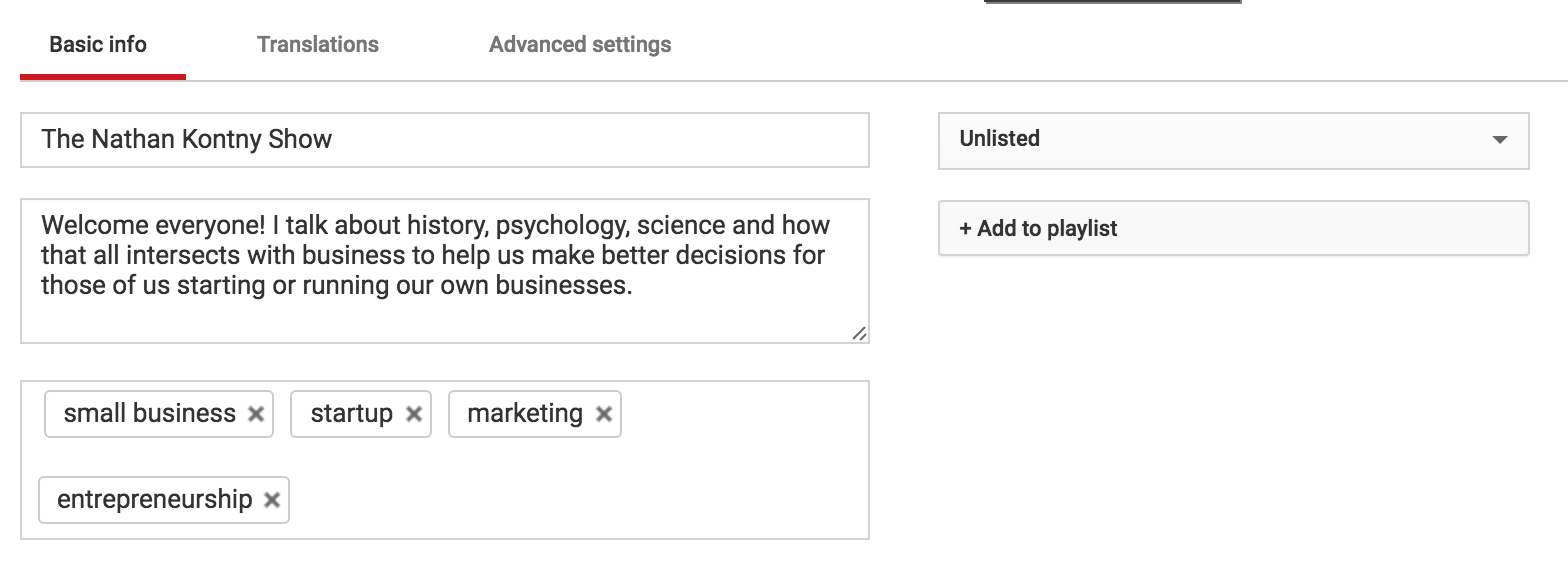
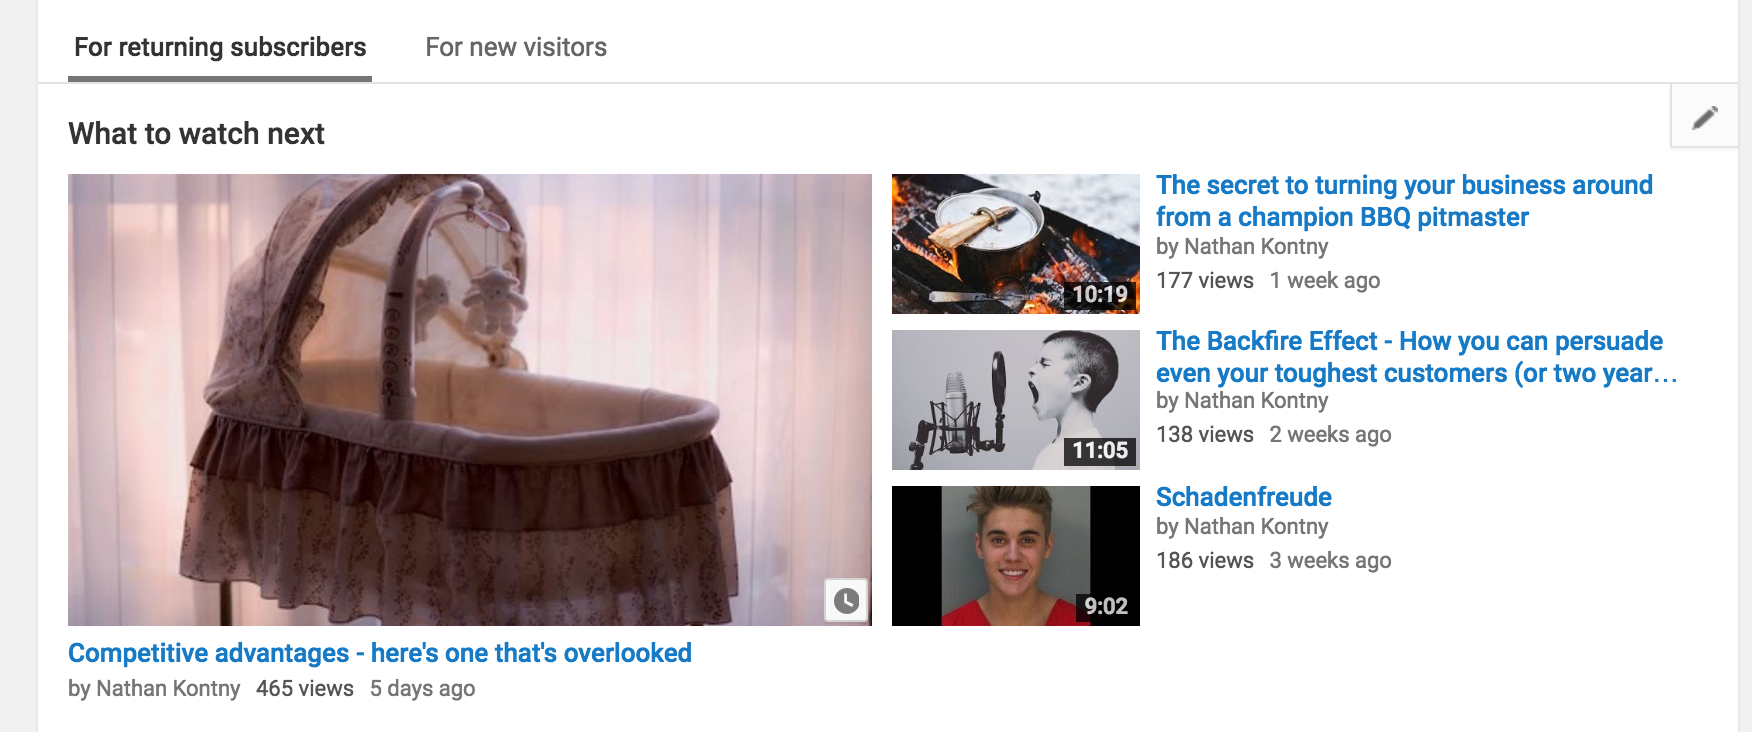
Again, not something that’s super intuitive at YouTube. But when non-subscribers see your channel for the first time, you can show them a video to introduce your channel. Given that people use YouTube to watch videos, I’d encourage you to add an intro video in addition to your About page. To add one, just film something as an Unlisted video (if you make it Public and Listed it’ll show up in your normal set of uploaded videos and will be redundant for anyone who’s already subscribed).
Next, you add this video as a “trailer” in YouTube. Navigate to your Channel page, then click the tab “For New Visitors”. There you can add or remove a Trailer:

Can’t A/B test the intro video very well either, but when Jason filmed a nice intro for us at Work in Progress, subscriptions jumped.
Advanced settings
Go over to Advanced settings and give those a look. For Channels that aren’t on YouTube to monetize through ads (like ours isn’t), you probably want to turn off the defaulted ads:

Depends on what you are trying to accomplish, but again, this wasn’t obvious that you could turn these off and where.
Here’s some other links you’ll want to check out:

Use those pencils to change the Avatar and Background art on your channel. You can also use that right pencil to add links to your Channel that can link to some other properties.
Don’t use the default thumbnails
I swear they always look bad. They might work though for comic effect — In multiple videos it looked like I was crying or screaming:
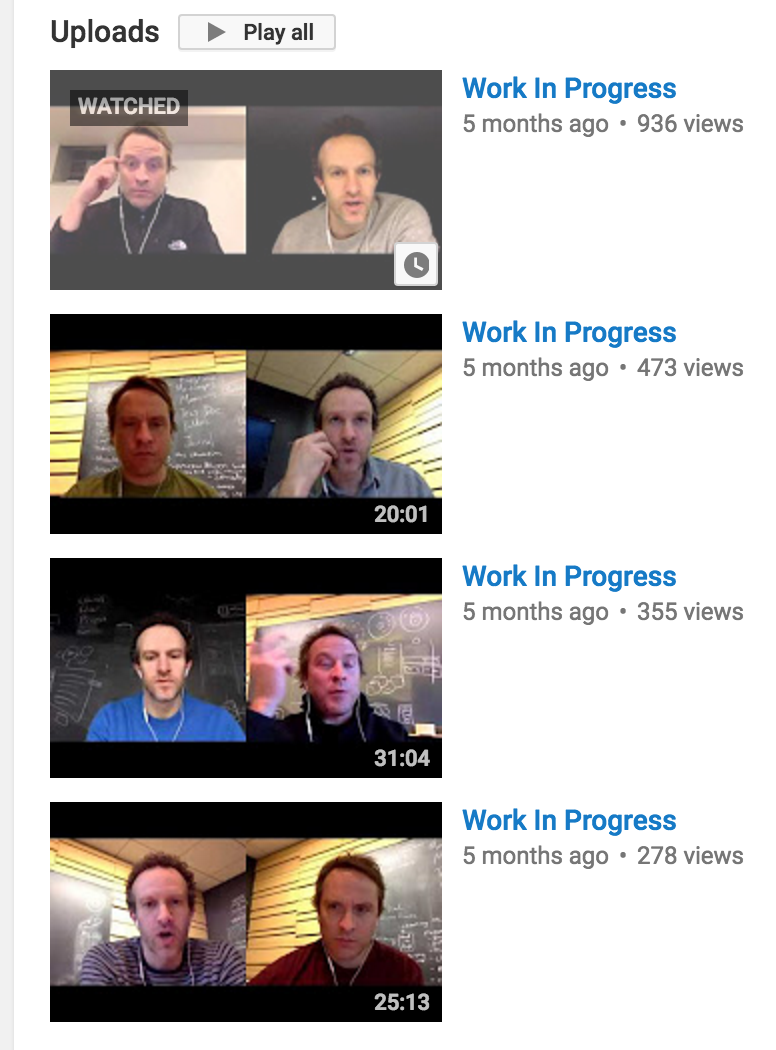
Now, I make sure I grab a decent image from the video or upload a high resolution picture. Often I just use a resource like Unsplash to get free and free-to-do-whatever-you-want licensed photos.
And it makes for a much more interesting list of videos:
Video quality
1) Don’t worry about video quality
I’ve learned a bunch about making better looking videos. It’s taken awhile, and I still have far to go.
First, I’ll say, don’t worry too much about video quality. Worry first about audio and lighting. There was a study I read long ago that people will watch things they can’t see as long as the audio is good, but they won’t watch things that they can see clearly if the audio is poor.
Make sure you have your audio situation figured out. Be careful with earbud mics because they often brush up on your collar or shirt while you talk and make a lot of noise. Also, if you are going to be talking with someone using something like Google Hangouts, use earbuds. Otherwise the output of your speakers is likely going to end up in the video causing a crazy echo.
For lighting, at a minimum try to film with some sunlight coming towards your face from behind the camera. Make sure there aren’t any lights at your back facing the camera.
Here’s how I started: just my phone recording a Facebook Live video that saved to my phone. I then uploaded it to YouTube. The quality is terrible:
It’s not in HD. The aspect ratio is wrong. The lighting is awful. I fooled with this selfie Ring light, and it just made me look green.
But I still got subscribers, and people still started watching the content. You’ll realize that’s what matters most. With the videos Jason and I did together, the video quality was never great, since we were often using our webcams, and didn’t spend much time worrying about lighting or audio.
Didn’t matter. Lots of people still tuned in.
So get the basics down, worry more about what you’re talking about. When you’re happy with the direction of your content, then start worrying about video quality.
2) Go with a cheap 1080p webcam and a mic
Wanting a small step up in quality, I found the Logitech HD Pro Webcam C920.
It films in 1080p for decent looking HD videos. But I made the mistake of using Photobooth on my Mac to make the videos. Photobooth uses the wrong aspect ratio for YouTube, and I don’t believe creates videos in 1080p even though the camera does. They ended up in about 480p.
Then I realized I could start filming in Quicktime, the player. If you open up the Quicktime Player on your Mac, you can actually film new movies:

Using that with the Logitech I was finally recording in a 16:9 aspect ratio, and the videos were in 1080p. This was a nice jump in quality on YouTube. I also added a decent microphone — the Snowball for $50.
With about $125 for that webcam and mic, and some sunny windows, you can do a pretty great job of making videos talking to your audience.
3) Get a DSLR
Recently, I still wanted more control over the quality of these videos, especially poor lighting. I find myself filming in my basement or on a cloudy day. I don’t want to worry so much about finding the perfect windows or buying lighting gear. Another thing I wanted to correct for is crappy backgrounds. On some days I find myself surrounded by baby toys or giant cutouts of Big Bird for my 2 year old’s birthday party.
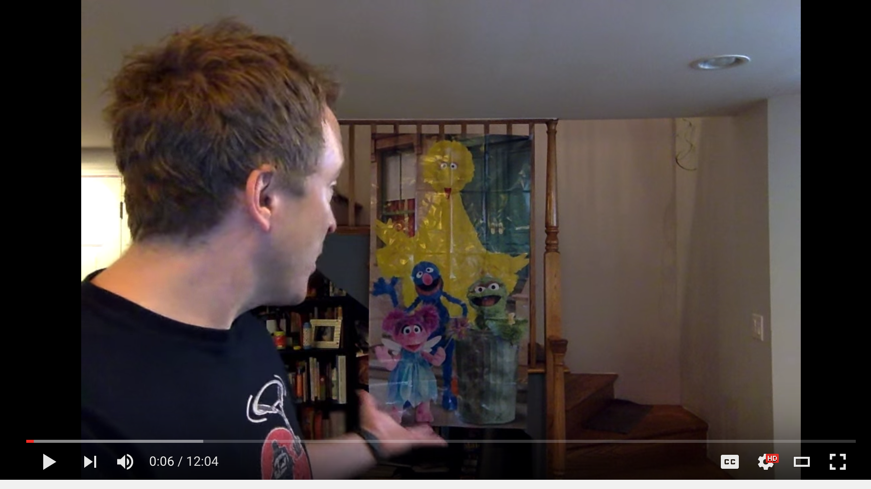
How can I minimize the junk I can’t seem to avoid? And I was curious and wanted to learn more behind making great looking videos.
So I decided to splurge on some gear. And I’m real happy I did.
I looked into solutions that work well in low light as well as can give me a shot that minimizes my background by making it blurry — otherwise known in the photo/video world as a shallow depth of field.
And found a Canon 80D DSLR camera with a 30mm Sigma f/1.4 lens would be a great fit.
So what do those things even mean? I won’t go into too much detail as there’s a lot of it. But I will share some specifics that led to me picking this camera and lens.
First the camera turns out to be one of the more user friendly of these sophisticated cameras. There’s a lot of bells and whistles that can just lead to complexity, but the Canon handles it well. Also the camera has a great touchscreen on it that flips 180 degrees so you can see yourself in it as you film — perfect for the types of videos I want to make.
As for the lens: The 1.4 is the lens’ f-stop. The lower it gets, the wider the aperture the lens can have. When it does that, it works great in low light AND gives you a sharp focus on just what you want to focus on while the background blurs.
The Canon 80D has a “crop sensor” which means that it has a slightly smaller image sensor to a full frame sensor. That doesn’t mean a ton unless you really need the quality of a full frame, but it does mean you need to be aware of how it changes your lens attributes. For example, a 50mm lens is great but on a crop sensor camera like the 80D you would need to place the camera way across the room from you if you wanted to film yourself talking to the camera. That’s because the crop sensor has a multiplication factor of 1.6. Meaning, if you have a 50mm lens, the 80D will make that lens seem more like a 50mm * 1.6 = 80mm lens. So a 30mm like the Sigma I have, works more like a 48mm.
With the 30mm Sigma, I can put the camera on the table in front of me and still see myself in the viewfinder.
I also added a camera mounted condenser microphone to the mix. And for a tripod, since I find myself in all sorts of weird places filming these I just went with something that seemed flexible and portable.
Again, this was an investment you probably don’t need to make starting out; I probably didn’t need it. But it was something I wanted to learn a lot more about, and still wanted to keep giving my channel some better quality. So I thought I’d invest in the future of it.
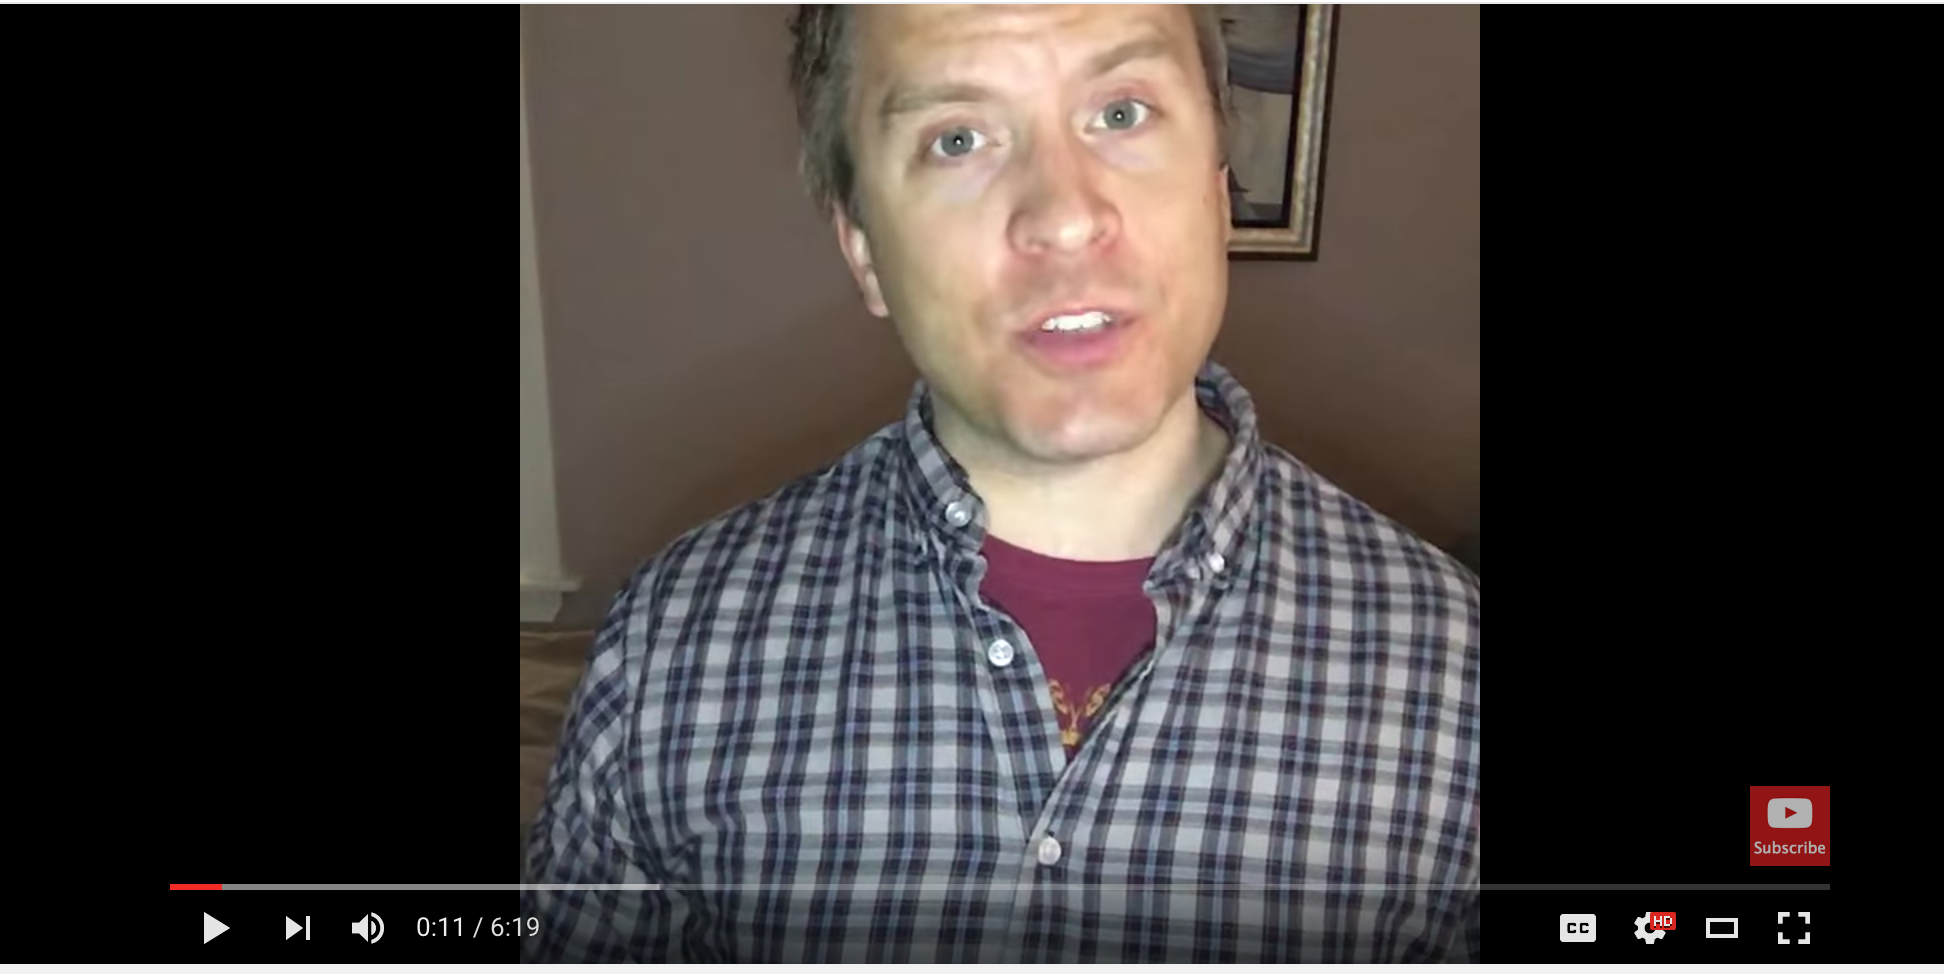
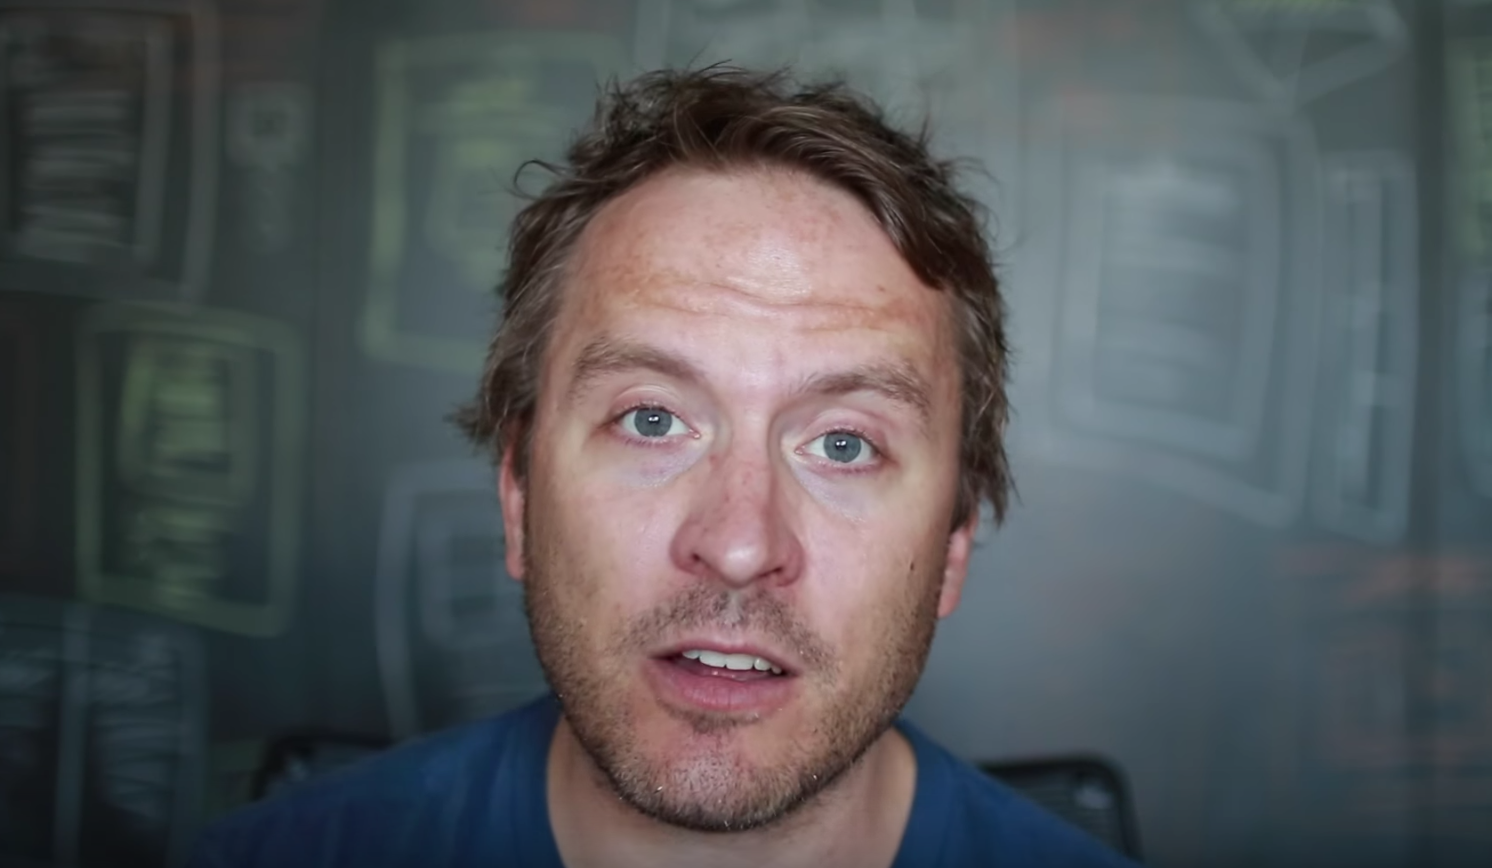
And maybe just this is just a coincidence, but the last video I made was with that new gear and is my most viewed video so far in the channel by a lot.
For some other great tips on things like camera reviews and even settings you want on an 80D check out Chris Winter’s channel.
I hope that provides a couple tips you weren’t aware of. Of course it’s not exhaustive. I’m still learning a ton, and I’ll follow up as I keep learning more. And please, let me know if you have any favorite tips or secrets to filming great videos, getting videos to spread, or encouraging new subscribers. Would love to hear from you.
P.S. If you enjoyed this article, you should follow my YouTube channel 🙂 And if you find yourself overwhelmed while organizing your own small business, check out how Highrise can help!